
Table of Contents
ToggleEssential Crochet Techniques for Beginners and Beyond
Have you ever picked up a crochet hook, eager to create a cozy sweater or a classic granny square blanket only to find yourself tangled in yarn and confusion? This guide demystifies the art of crochet, unveiling essential techniques that will take you from fumbling novice to confident crafter. Delving into the foundations, such as basic stitches and understanding patterns, this post will also guide you through more complex methods for adding texture and shaping your creations. Whether you’re struggling with slip knots or seeking to perfect your post stitches, you’ll discover valuable tips and tricks to enhance your skills and the joy of your crafting journey.
Key Takeaways
- Mastering different hook sizes and yarn types is essential for varied crochet textures and items
- Crocheting in rounds or rows offers distinct benefits for project structure and design
- Tunisian crochet combines knitting with traditional methods for a unique woven texture
- Proper finishing techniques, like blocking, enhance the professional appearance of crochet projects
- Engaging with the crochet community provides valuable support and creative inspiration
Starting Your Crochet Journey: Essential Tools and Materials
Embarking on a crochet journey unfolds a new realm of creative expression, whether it’s fashioning a warm scarf or assembling unique knitted accessories. As I guide you through this craft, understanding the tools and materials you’ll need is paramount. Selecting the right crochet hook sizes can transform your experience, just as grasping the array of yarn types and weights lays a foundation for your projects. With a tailored kit of beginner essentials, including the perfect cotton for your undertaking and a bag for your tools, you’ll find starting much smoother. Crafting an inviting workspace is key, so let’s prepare one that will foster hours of productivity and joy in your crafting adventures.
Selecting the Right Crochet Hook Sizes
When I began diving into the art of crochet, one of the first lessons I learned was the significance of selecting the proper hook sizes. These choices are pivotal as they can significantly affect the texture and size of your creation, whether it’s a delicate amigurumi or a cozy cardigan. For instance, chunky wool yarn from the United Kingdom may call for a larger hook to accommodate the thicker strands, while a light, worsted wool might pair perfectly with a smaller hook to achieve intricate stitches and detailing. Your hook choice not only supports the material choices but also contributes to the precision and comfort of your work, ensuring each loop and yarn pull resonates with your personal touch.
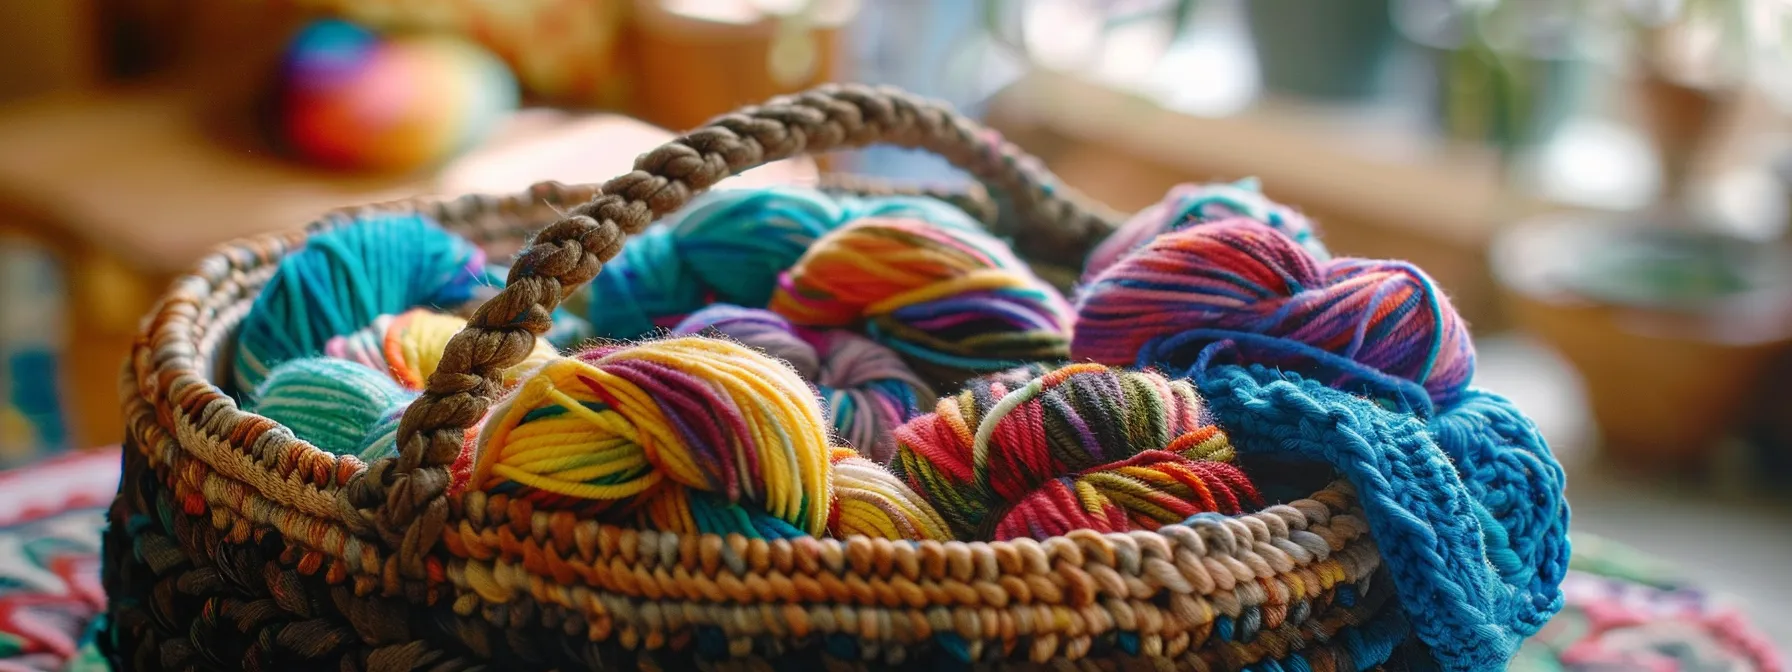
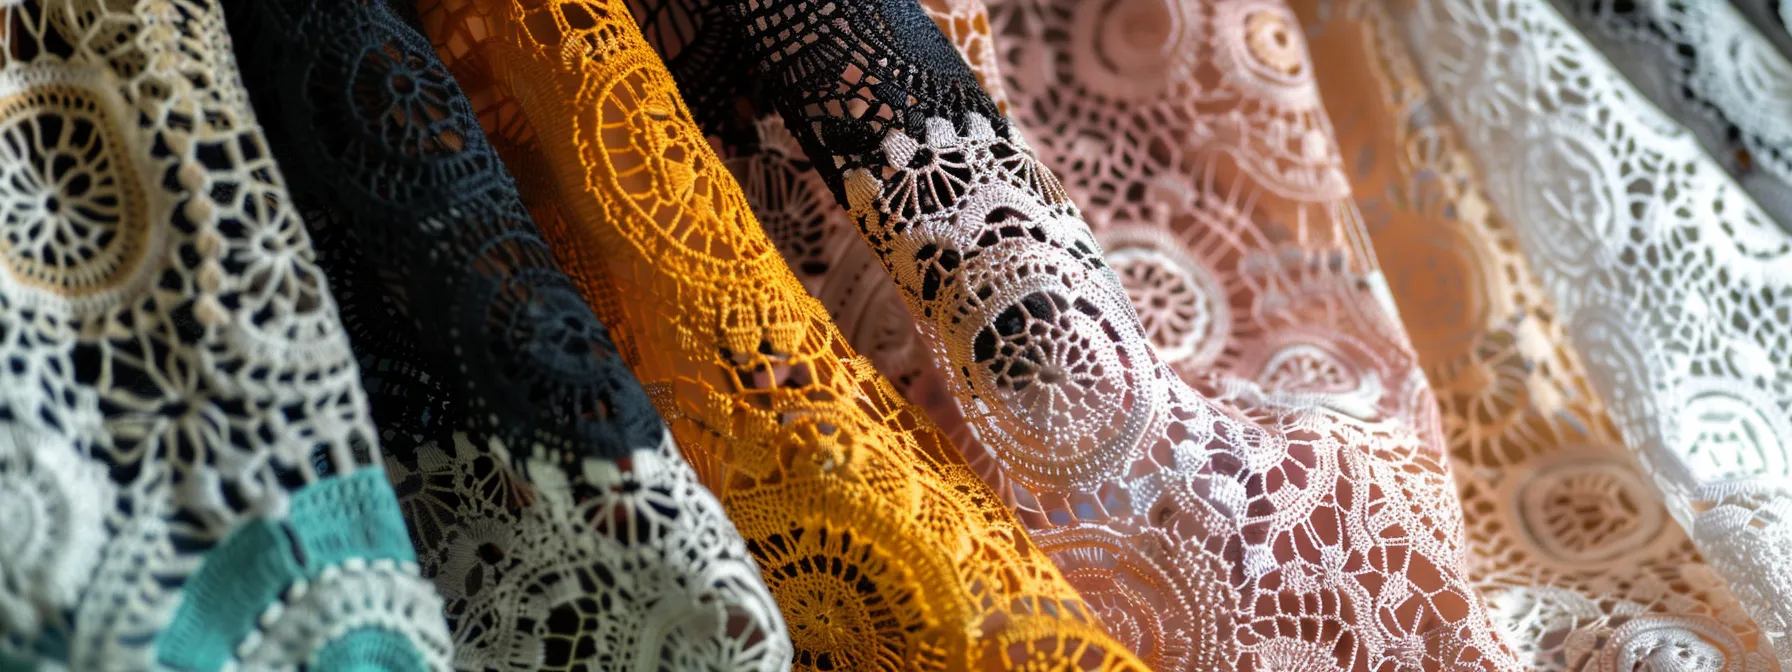
Understanding Different Yarn Types and Weights
In my early crochet endeavors, I quickly realized the breadth of yarn types and weights available, each with unique properties impacting the final product’s texture, durability, and aesthetic. Lighter yarns, while perhaps more challenging in terms of handling, offer an elegance suitable for delicate shawl patterns, which I found incredibly rewarding when making Christmas gifts. Conversely, heavier yarns provide the sturdiness needed for items like hats, though at a slightly higher price, they promise longevity. I highly recommend consulting a detailed yarn weight chart, often found in PDF format online, to guide your selection process and ensure the most suitable yarn for your projects.
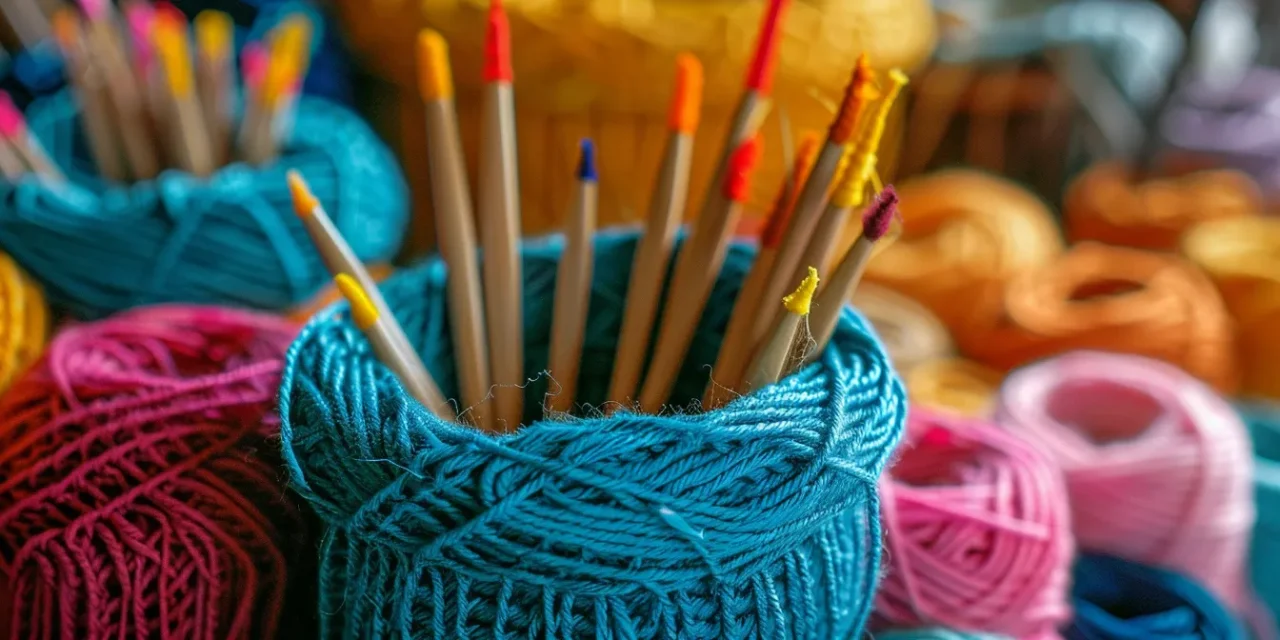
Must-Have Accessories for Beginners
As a novice in the craft of crochet, having the right accessories at your fingertips is essential for tackling any project, from clothing to petal-adorned toys. While crocheting a waistcoat may seem ambitious, beginners in Canada and elsewhere can build confidence by starting small with accessories that will greatly facilitate the learning curve. For instance, stitch markers are a godsend when maintaining complex patterns, and a good pair of scissors is indispensable for effortlessly snipping yarn. A yarn needle will become one of your most trusted tools to weave in ends, ensuring your clothing and toy projects have a professional, finished look.
Here, I’ll provide a breakdown of must-have beginner accessories:
| Accessory | Use | Benefit |
|---|---|---|
| Stitch markers | Keeping track of patterns | Enhances pattern accuracy |
| Scissors | Snipping yarn | Ensures clean, sharp cuts |
| Yarn needle | Weaving in ends | Provides a professional finish |
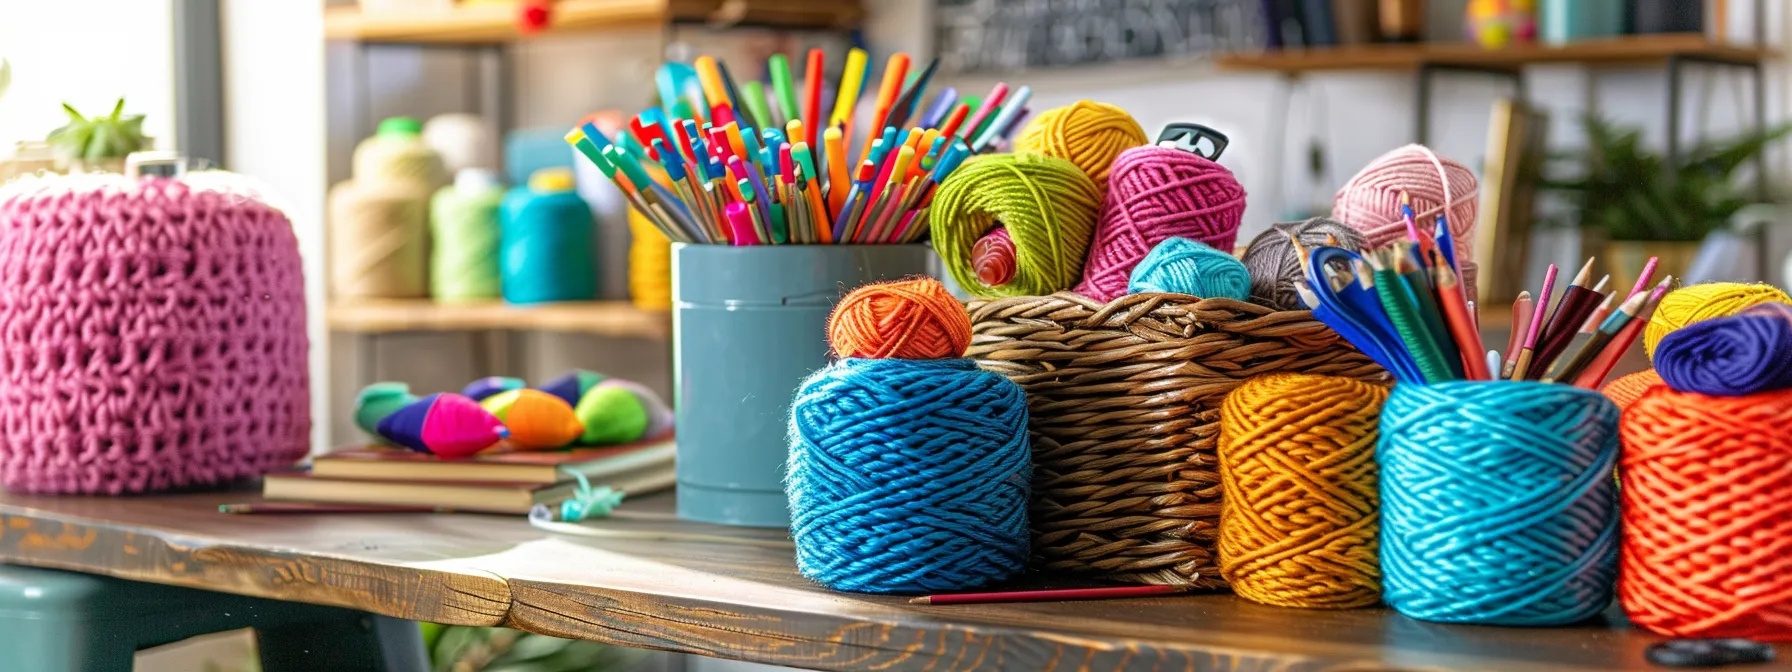
Setting Up a Comfortable Workspace
Designing a comfortable workspace is crucial for a fulfilling crochet experience. I’ve discovered that the right environment not only elevates the quality of my brand’s handmade ponchos and whimsical pumpkin amigurumi but also enhances my overall engagement with the craft. A spacious table, an ergonomic chair, and a basket to keep my tools organized are paramount; they contribute to an efficient workflow and help to prevent fatigue, allowing me to crochet for hours while immersing myself in creativity and comfort.
Armed with hooks and yarn, you are now ready to give life to your creations. Let’s delve into the basic stitches that form the foundation of all crochet projects.
Basic Crochet Stitches Every Beginner Should Know
As we delve into the world of crochet, mastering basic stitches is the cornerstone of creating everything from a delicate leaf applique to a stunning dress. I’ll start by teaching you how to make a slip knot and hold your hook, essential for beginning any project. Next, we’ll tackle how to create a foundation chain, the structure underlying your creations. We will then move on to the single crochet stitch, a fundamental technique used in countless pieces, including the ever-popular ricorumi dolls. Learning the double crochet stitch will follow, broadening your ability to add texture and dimension to your work. Finally, practicing the half-double and treble crochet stitches will equip you with a versatile skill set for more complex projects, like crochet appliques. These initial techniques lay the groundwork for your crochet journey, guiding you to skillfully bring your handcrafted visions to life.
Making a Slip Knot and Holding Your Hook
Initiating any crochet piece, such as an amigurumi Halloween decoration or a bespoke crochet pattern, begins with the foundational slip knot. I recall my first attempts where I learned to loop the yarn around my fingers, ensuring a knot that could easily adjust on my hook. It’s vital to grasp the hook firmly, as if holding a pencil, allowing for fluid motion and precise control – a practice that sets the stage for creating magic with yarn and hook.
How to Create a Foundation Chain
The foundation chain is a crucial first step in crochet that I’ve taught many beginners; think of it as laying the cornerstone for a building, essential for the stability and shape of your work. It begins with a slip knot on the hook, followed by yarn over (wrapping the yarn over the hook), and pulling it through the loop, creating the first chain – a simple yet fundamental technique. Persevere in practicing this until the chains appear even and consistent; this is the blueprint for the beautiful patterns and structures you’ll create:
| Step | Action | Tip |
|---|---|---|
| 1 | Create a slip knot | Ensure the knot is not too tight on the hook |
| 2 | Yarn over the hook | Keep tension even for consistent chain size |
| 3 | Pull through to make a chain | Practice to maintain uniform chain loops |
Mastering the Single Crochet Stitch
The single crochet stitch, a staple in my personal crochet practice, is indeed the backbone of myriad designs, from simple dishcloths to elaborate amigurumi creatures. Through my experience, I’ve found that mastering this stitch involves working into the correct stitch from the previous row, inserting the hook, yarn over, and drawing through the loop, then yarn over again and pull through both loops on the hook. This technique, when perfected, forms a tight, dense fabric ideal for sturdy items like potholders and warm hats, providing a sense of pride and accomplishment as one sees their handiwork take shape.
Learning the Double Crochet Stitch
As I advanced in my crochet work, the double crochet stitch became indispensable for adding swift height and texture to my projects. This stitch, which I find particularly pivotal for crafting airy shawls and elegant blankets, involves a yarn over before inserting the hook into the stitch, another yarn over to pull through, yarn over once more and pulling through two loops, then a final yarn over and pull through the remaining two loops on the hook. The result is a versatile and somewhat taller stitch that allowed me to quickly see progress on my creations, providing a satisfying boost for beginners and those looking to elevate their craft.
Practicing the Half Double and Treble Crochet Stitches
Progressing through the basics led me to the half double and treble crochet stitches, foundational techniques that opened up a world of textural possibilities for my designs. Mastering the half double crochet, with its additional yarn-over before pulling through all three loops, allowed me to create a fabric that strikes a delightful balance between the density of single crochet and the height of the double. The treble crochet stitch—completing two yarn-overs before inserting the hook—builds upon this foundation, crafting airy, open work perfect for lacy patterns and faster-growing projects. Through hands-on practice, I found these stitches essential for building upon the simple creations of my initial forays into crochet, thus enriching my handmade repertoire with variety and sophistication:
| Stitch Type | Characteristics | Applications |
|---|---|---|
| Half Double Crochet | Dense yet flexible, ideal for wearables | Blankets, scarves, sweaters |
| Treble Crochet | Light and airy, grows quickly | Lace patterns, shawls, afghans |
You’ve mastered the basic stitches, the foundation of crochet art. Now, let’s thread the path of reading patterns, where your creations take true shape.
Reading and Following Crochet Patterns
Advancing in crochet requires more than just mastering stitches; it involves deciphering patterns to convert them into tangible art. I’ll help you decode common crochet abbreviations, understand the symbols and diagrams, and offer tips for keeping track of your rows and stitches. Additionally, adapting patterns to different yarn weights is a skill that enhances the versatility of your craft. Navigating these elements is crucial for creating sophisticated projects that reflect your growing expertise.
Decoding Common Crochet Abbreviations
Deciphering crochet abbreviations is much like learning a new language; it’s the key to understanding any pattern you wish to bring to life. In my own experience, familiarizing myself with these shorthand symbols – such as “ch” for chain, “sc” for single crochet, and “dc” for double crochet – was crucial for seamless creation, allowing me to swiftly interpret intricate patterns and execute them with precision. These icons serve as the building blocks that will enable you to translate a written pattern into a textile masterpiece, a skill that is indispensable as you progress in this craft.
Understanding Crochet Symbols and Diagrams
As I ventured deeper into crochet, unraveling the meanings behind symbols and diagrams was akin to finding a map in a new city. These visual guides are endowed with a universal language that transcends verbal communication, enabling crocheters worldwide to share and follow designs with ease. I’ve learned that a crochet diagram, with its series of lines and dots, provides a bird’s-eye view of the project, illustrating how stitches relate to one another, a perspective that written instructions alone may not convey as effectively. Becoming adept at interpreting these symbols empowered me to confidently tackle a broader range of patterns, enriching both my knowledge and my array of handcrafted creations.
Tips for Keeping Track of Your Rows and Stitches
Maintaining accurate count of your rows and stitches is pivotal in creating a well-formed crochet piece. I’ve found that using row counters or simple tally marks on a notepad can prevent any discrepancies that may arise, especially in complex patterns. Moreover, I often place stitch markers at the beginning or end of a row to mark progress, especially when working on pieces with repetitive patterns where it’s easy to lose track:
| Method | Description | Benefits |
|---|---|---|
| Row Counters | Small digital or manual devices to track rows | Provides an exact count, reducing errors |
| Tally Marks | Marks on paper correlating to row completion | Simplifies the tracking process without extra tools |
| Stitch Markers | Clips or loops placed in specific stitches | Clearly identifies row beginnings or important stitches |
Adapting Patterns to Different Yarn Weights
Adapting crochet patterns to different yarn weights is a skill I’ve honed carefully, as it gives you the freedom to personalize projects. I’ve learned that it’s essential to consider the gauge—stitches per inch—when switching out yarn types; this may involve changing hook sizes to maintain pattern dimensions. Through trial and error, I discovered that a swatch test is invaluable for achieving the right tension, ensuring your finished product maintains its intended shape and style without warping the original design.
Understanding crochet patterns is a task conquered; a map is nothing without the journey. Now let’s mold the contours, delve into the techniques that birth texture and shape.
Essential Techniques for Shaping and Texture

Moving beyond the basics, I’ll share essential techniques that shape your crochet projects and add captivating textures. We’ll tackle how to increase and decrease stitches for seamless shaping, compare working in the round versus in rows for structural variety, and create textures with front and back post stitches. Additionally, I’ll guide you through joining new yarn colors without visible seams and teach the finesse of finishing off and weaving in ends properly. Each skill enhances your capability to produce meticulously crafted pieces, showcasing your proficiency and attention to detail in the art of crochet.
How to Increase and Decrease Stitches
In my crochet practice, learning to increase and decrease stitches has been fundamental for shaping various crochet projects like hats, gloves, and even intricate amigurumi toys. Through experience, I’ve found that to increase, one simply makes two stitches into the same space, adding volume and contours to the work, and to decrease, I combine multiple stitches together, which tightens and reduces the fabric, essential for creating curves and angles. By mastering these techniques, I’ve been able to craft crocheted items with tailored fits and sophisticated designs, providing practical solutions for my fellow enthusiasts aiming to elevate their crochet skills.
Working in the Round vs. Rows
In the realm of crochet, choosing between working in the round and working in rows is pivotal for shaping pieces and defining their structure. When I aim to create symmetrical items like hats or amigurumi toys, I often opt for working in the round, which allows for seamless continuous spirals without the need for joining seams. Conversely, rows are my go-to for projects like blankets and scarves, where I value the uniform edges and the ability to easily change colors at the end of each row:
| Technique | Best Used For | Advantage |
|---|---|---|
| Working in the Round | Symmetrical items (hats, amigurumi) | Seamless finish, ideal for continuous patterns |
| Working in Rows | Flat pieces (blankets, scarves) | Uniform edges, ease of changing colors |
The distinction between these techniques, I’ve found, greatly influences the texture and the final appearance of the crochet projects. An understanding of when to use each method will not only lend structural integrity to your craft but will also enhance the aesthetic appeal of your handmade pieces.
Creating Textures With Front and Back Post Stitches
Exploring the techniques of front and back post stitches, I’ve introduced rich textures into my crochet projects that intrigue the eye and invite touch. These stitches involve working around the post of the previous stitch rather than the top loop, creating a raised, ribbed texture that adds depth and visual interest to items such as cables on sweaters or the ridges on hats. My hands-on experience has shown that mastering these post stitches can transform a flat piece into a three-dimensional work of art, significantly expanding the scope of designs you can achieve with just a hook and yarn.
Joining New Yarn Colors Seamlessly
In my journey with crochet, I’ve found that seamlessly joining new yarn colors can elevate the aesthetic of any project, whether it’s injecting vibrant hues into granny squares or transitioning shades in a ripple afghan. The technique I prefer involves completing the final pull-through of a stitch with the new color, a method that ensures a smooth transition with no jagged or abrupt color changes. This straightforward approach not only maintains a polished look but also avoids the unnecessary bulk that can result from knots or overlapped yarns, making your pieces look and feel professional.
Finishing Off and Weaving in Ends Properly
Finishing off and weaving in ends properly is an art in itself, one that I emphasize to crochet enthusiasts aiming for polished final pieces. Through diligent practice, I’ve perfected the technique of threading a yarn needle to weave in ends in various directions, invisibly securing them within the fabric’s body to prevent unravelling. This crucial final step not only ensures the durability of your work but also preserves the beauty of your stitching, leaving no stray threads to detract from the handcrafted elegance of your crochet project.
Now, our foundation is strong; the basic stitches lie behind us. Let’s venture into the realm of intermediate and advanced crochet methods, where your skills will truly flourish.
Exploring Intermediate and Advanced Crochet Methods
As we progress into more sophisticated crochet techniques, I’ll introduce you to the wonders of Tunisian crochet, an elegant merger of knitting and crochet that produces a distinct woven fabric. You’ll learn the magic ring technique, pivotal for creating tight, center-started circles in amigurumi. We’ll explore the geometric artistry of mosaic and filet crochet, alongside the ethereal beauty of crafting intricate lace patterns. Lastly, I’ll share insights into crochet techniques tailored for garment making, empowering you to craft wearable pieces with finesse.
Introduction to Tunisian Crochet
Tunisian crochet, a technique that has piqued my interest due to its hybrid nature, merges the fluidity of crochet with the structure of knitting to create a dense, woven texture. Utilizing a long hook known as a Tunisian crochet hook, I’ve crafted projects that have the appearance of woven fabric, complete with its own unique stitch patterns such as Tunisian Simple Stitch (TSS) and Tunisian Knit Stitch (TKS). For those seeking to expand their repertoire beyond traditional crochet, this method offers an exciting and rewarding challenge: a world waiting to be explored, brimming with possibilities for new textures and fabric qualities.
The allure of Tunisian crochet lies in its intricate appearance and the substantial fabric it produces, ideal for making warm afghans or chic bags. In mastering this technique, I focused on maintaining even tension across longer rows and refining the distinct forward and return pass to prevent curling common in Tunisian works. Here’s a brief rundown of the process I follow while working with Tunisian crochet:
- Create a foundation chain of the desired number of stitches.
- Pick up loops from each chain stitch, leaving them on the hook.
- Work a return pass by yarn-over and pull through loops to gradually return to one loop on the hook.
These simple steps have been fundamental in building my proficiency with this technique. As with any skill, I found that practice, alongside patience, paved the way for creating stunning pieces with Tunisian crochet.
Learning the Magic Ring Technique
Mastering the magic ring technique is fundamental for crocheters who aspire to create projects with a polished, seamless start, particularly in amigurumi and circular patterns. I’ve witnessed firsthand how this method, also known as the adjustable loop, eliminates the hole that typically appears at the center of rounds, ensuring a snug and secure beginning. It’s a game-changer for creating hats, doilies, and toy parts – any project that benefits from a tight, closed center becomes simpler and more refined with the magic ring technique.
For those eager to try the magic ring technique, the following table outlines the basic steps to get you started. Follow these and practice consistently for a robust foundation in this invaluable crochet skill:
| Step | Action | Outcome |
|---|---|---|
| 1 | Loop yarn around fingers to create a circle | Forms the base of the adjustable loop |
| 2 | Insert hook into the circle, yarn over and pull through | Secures the initial stitch on the loop |
| 3 | Crochet the required number of stitches into the circle | Begins building the first round of your project |
| 4 | Pull the yarn tail to tighten the circle | Closes the center hole, finishing the magic ring |
By adopting the magic ring in your crochet projects, you enhance the quality of your work, delivering creations that stand out for their meticulous start and professional-looking finish. It’s a skill that, once learned, becomes an essential part of your crochet toolkit, facilitating the creation of complex pieces with confidence and ease.
Basics of Filet and Mosaic Crochet
When I first delved into filet crochet, I was captivated by how this technique uses simple combinations of chain and double crochet stitches to create graphic patterns that resemble a grid or mesh. As for mosaic crochet, I’ve found it to be a truly mesmerizing craft, where the clever use of slip stitches creates intricate, geometric designs that pop with color and texture. Both methods are a testament to the artful potential of crochet, allowing for the creation of stunning, detailed fabric that’s both decorative and functional, ensuring your projects stand out with a professional touch.
Crafting Intricate Lace Patterns
Delving into the creation of intricate lace patterns is an adventure that elevates the craft of crochet to an art form. Mastering this advanced technique allows me to produce delicate, openwork designs that transform simple yarn into elegant shawls, table runners, and bridal accessories. I focus on meticulous stitch counts and use fine threads with smaller hooks, ensuring the lacework is refined and symmetrical, captivating those who cherish heirloom-quality crochet pieces.
| Aspect | Consideration | Impact on Lace Crochet |
|---|---|---|
| Stitch Counts | Precision in counting | Ensures uniform openwork and patterning |
| Thread Quality | High-quality, fine threads | Achieves delicate, intricate lace |
| Hook Size | Smaller hooks for tighter control | Facilitates the creation of detailed stitches |
Crafting these exquisite lace patterns requires not only technical skill but also a deep understanding of how yarn tension and stitch placement contribute to the beauty of the finished product. My commitment to utilizing proper techniques and tools has been instrumental in curating a collection of lace crochet works that emanate both beauty and craftsmanship.
Crochet Techniques for Garment Making
When I shifted my focus towards garment making in crochet, mastering techniques like shaping and sizing became imperative. Integrating increases and decreases seamlessly is fundamental for contours, while understanding the drape and flow of various yarns ensures that sweaters, dresses, and other wearables fit beautifully and move gracefully with the body. I found careful attention to gauge and blocking essential for achieving professional-looking garments that are both comfortable to wear and pleasing to the eye.
Mastering intermediate and advanced crochet methods sets the stage for true craftsmanship. Let’s now turn to refining those skills, tackling any issues that arise along the thread’s path.
Troubleshooting and Enhancing Your Crochet Skills
Progressing in crochet involves overcoming common mistakes and refining one’s technique to achieve professional results. I’ll share strategies for correcting errors, maintaining consistent tension, and introduce blocking techniques to enhance the finish of your projects. Personalizing patterns and tapping into the crochet community for support are also crucial for skill enhancement. These insights offer practical value, empowering you to elevate your crochet craftsmanship.
Common Mistakes and How to Fix Them
In my experience, a common mistake for beginners is uneven stitches, which often stem from inconsistent yarn tension. To remedy this, practice holding the yarn with a steady grip and maintaining equal force as you crochet; it’s a skill that develops over time with patience and mindfulness. Another prevalent error is miscounting stitches, which can lead to irregular shapes in your projects. I’ve found that using a stitch marker at the start of each row or round can vastly improve accuracy, ensuring your creations come out as intended and enhancing the overall appeal of your work.
Strategies for Maintaining Consistent Tension
Maintaining a consistent tension throughout my crochet work has been critical for producing even stitches and uniform fabric. I’ve found the key to achieving this lies in holding the yarn with the same firmness from project start to finish, and in how I grip my hook, which should be stable yet relaxed to allow for smooth gliding. Adjusting my hand tension when I feel the yarn pulling too tightly or slipping too loosely has helped me craft pieces with a professional look, thereby elevating the overall quality of my crochet projects.
Blocking Techniques for Professional Results
As someone who has dedicated time to perfecting crochet projects, I’ve found blocking to be a transformative technique for achieving professional results. Blocking, the process of wetting or steaming crochet pieces to shape and set stitches, can dramatically enhance the look and drape of your work. Simple to do, it offers the ultimate finishing touch, ensuring that patterns appear neater and more defined, and can even correct minor inconsistencies in tension that occurred during the making process.
From my practice, here’s how I typically integrate blocking into my projects for that impeccable finish:
- After completing the crochet piece, I wet it thoroughly or use steam, depending on the fiber content.
- I then gently shape it to the desired dimensions and pin it in place on a blocking mat.
- Once it’s completely dry, I remove the pins, and am always delighted to find my work looking crisp, even, and professional.
Tips for Personalizing Patterns
Personalizing crochet patterns can transform a standard design into a piece that reflects your unique style and preferences. To begin, consider modifying color schemes to match your décor or personal wardrobe, or perhaps adjust stitch textures to add depth based on your comfort level with various stitches. When I personalize patterns, my goal is to ensure the end product not just serves its purpose but also showcases my individual touch, making every item distinct and reflective of my personality or the recipient’s:
- Assess the original pattern and identify elements that align with your vision.
- Alter the color palette, incorporating hues that resonate with your aesthetic preferences.
- Experiment with different yarn weights or types to achieve a new texture or drape.
- Adjust stitch patterns or introduce new ones for a custom textural effect.
- Incorporate embellishments such as beads, buttons, or embroidery to enhance the design’s uniqueness.
Remember, adapting patterns might require recalculating yarn amounts or changing hook sizes to maintain the project’s proportions, so always create a gauge swatch before embarking on the modified pattern. This approach ensures the final piece remains functional while exuding a crafted charm tailored to your tastes.
Engaging With the Crochet Community for Support
My journey with crochet has taught me the value of seeking support from the wider crochet community, particularly when troubleshooting or aiming to enhance my crochet skills. Online forums, social media groups, and local yarn shops often offer invaluable advice, pattern recommendations, and encouragement which have aided me through complex projects and skill plateaus. These interactive platforms serve as engaging spaces where both novices and seasoned crocheters exchange experiences and push the boundaries of creativity:
- Participation in online crochet forums for solving specific problems or getting feedback on projects.
- Connecting with social media crochet groups to stay updated with trends and find inspiration.
- Visit local yarn shops or attend workshops and classes to learn hands-on with fellow enthusiasts.
Staying active within these communities has provided me with a sense of solidarity, reminding me that every crocheter faces challenges, and it’s through shared wisdom and support that we all grow.
Frequently Asked Questions
What basic tools are needed to start crocheting?
To embark on your crocheting journey, essential tools include a crochet hook, yarn, scissors, and a yarn needle. These basics support a multitude of projects, from simple to intricate.
Can you list essential crochet stitches for beginners?
For those starting in crochet, mastering a few foundational stitches is key. The essential stitches include the chain stitch, single crochet, double crochet, and slip stitch. These form the basis for most crochet patterns and projects.
How do you read a crochet pattern correctly?
To read a crochet pattern correctly, first familiarize yourself with common abbreviations and symbols, then carefully follow the sequential instructions and stitch counts, ensuring consistent tension for an accurate end result.
What techniques are used for adding texture in crochet?
In crochet, adding texture is often achieved through techniques such as post stitches, strategic increases and decreases, and using a variety of stitch patterns like bobble, popcorn, and puff stitches to create raised, tactile elements.
How can I fix common crochet mistakes?
Correcting common crochet mistakes often involves unraveling stitches to the error point, carefully reworking the pattern, and ensuring consistent tension throughout your project for a uniform appearance.


